Volver a las guías
Crear un sobreturno
- 1
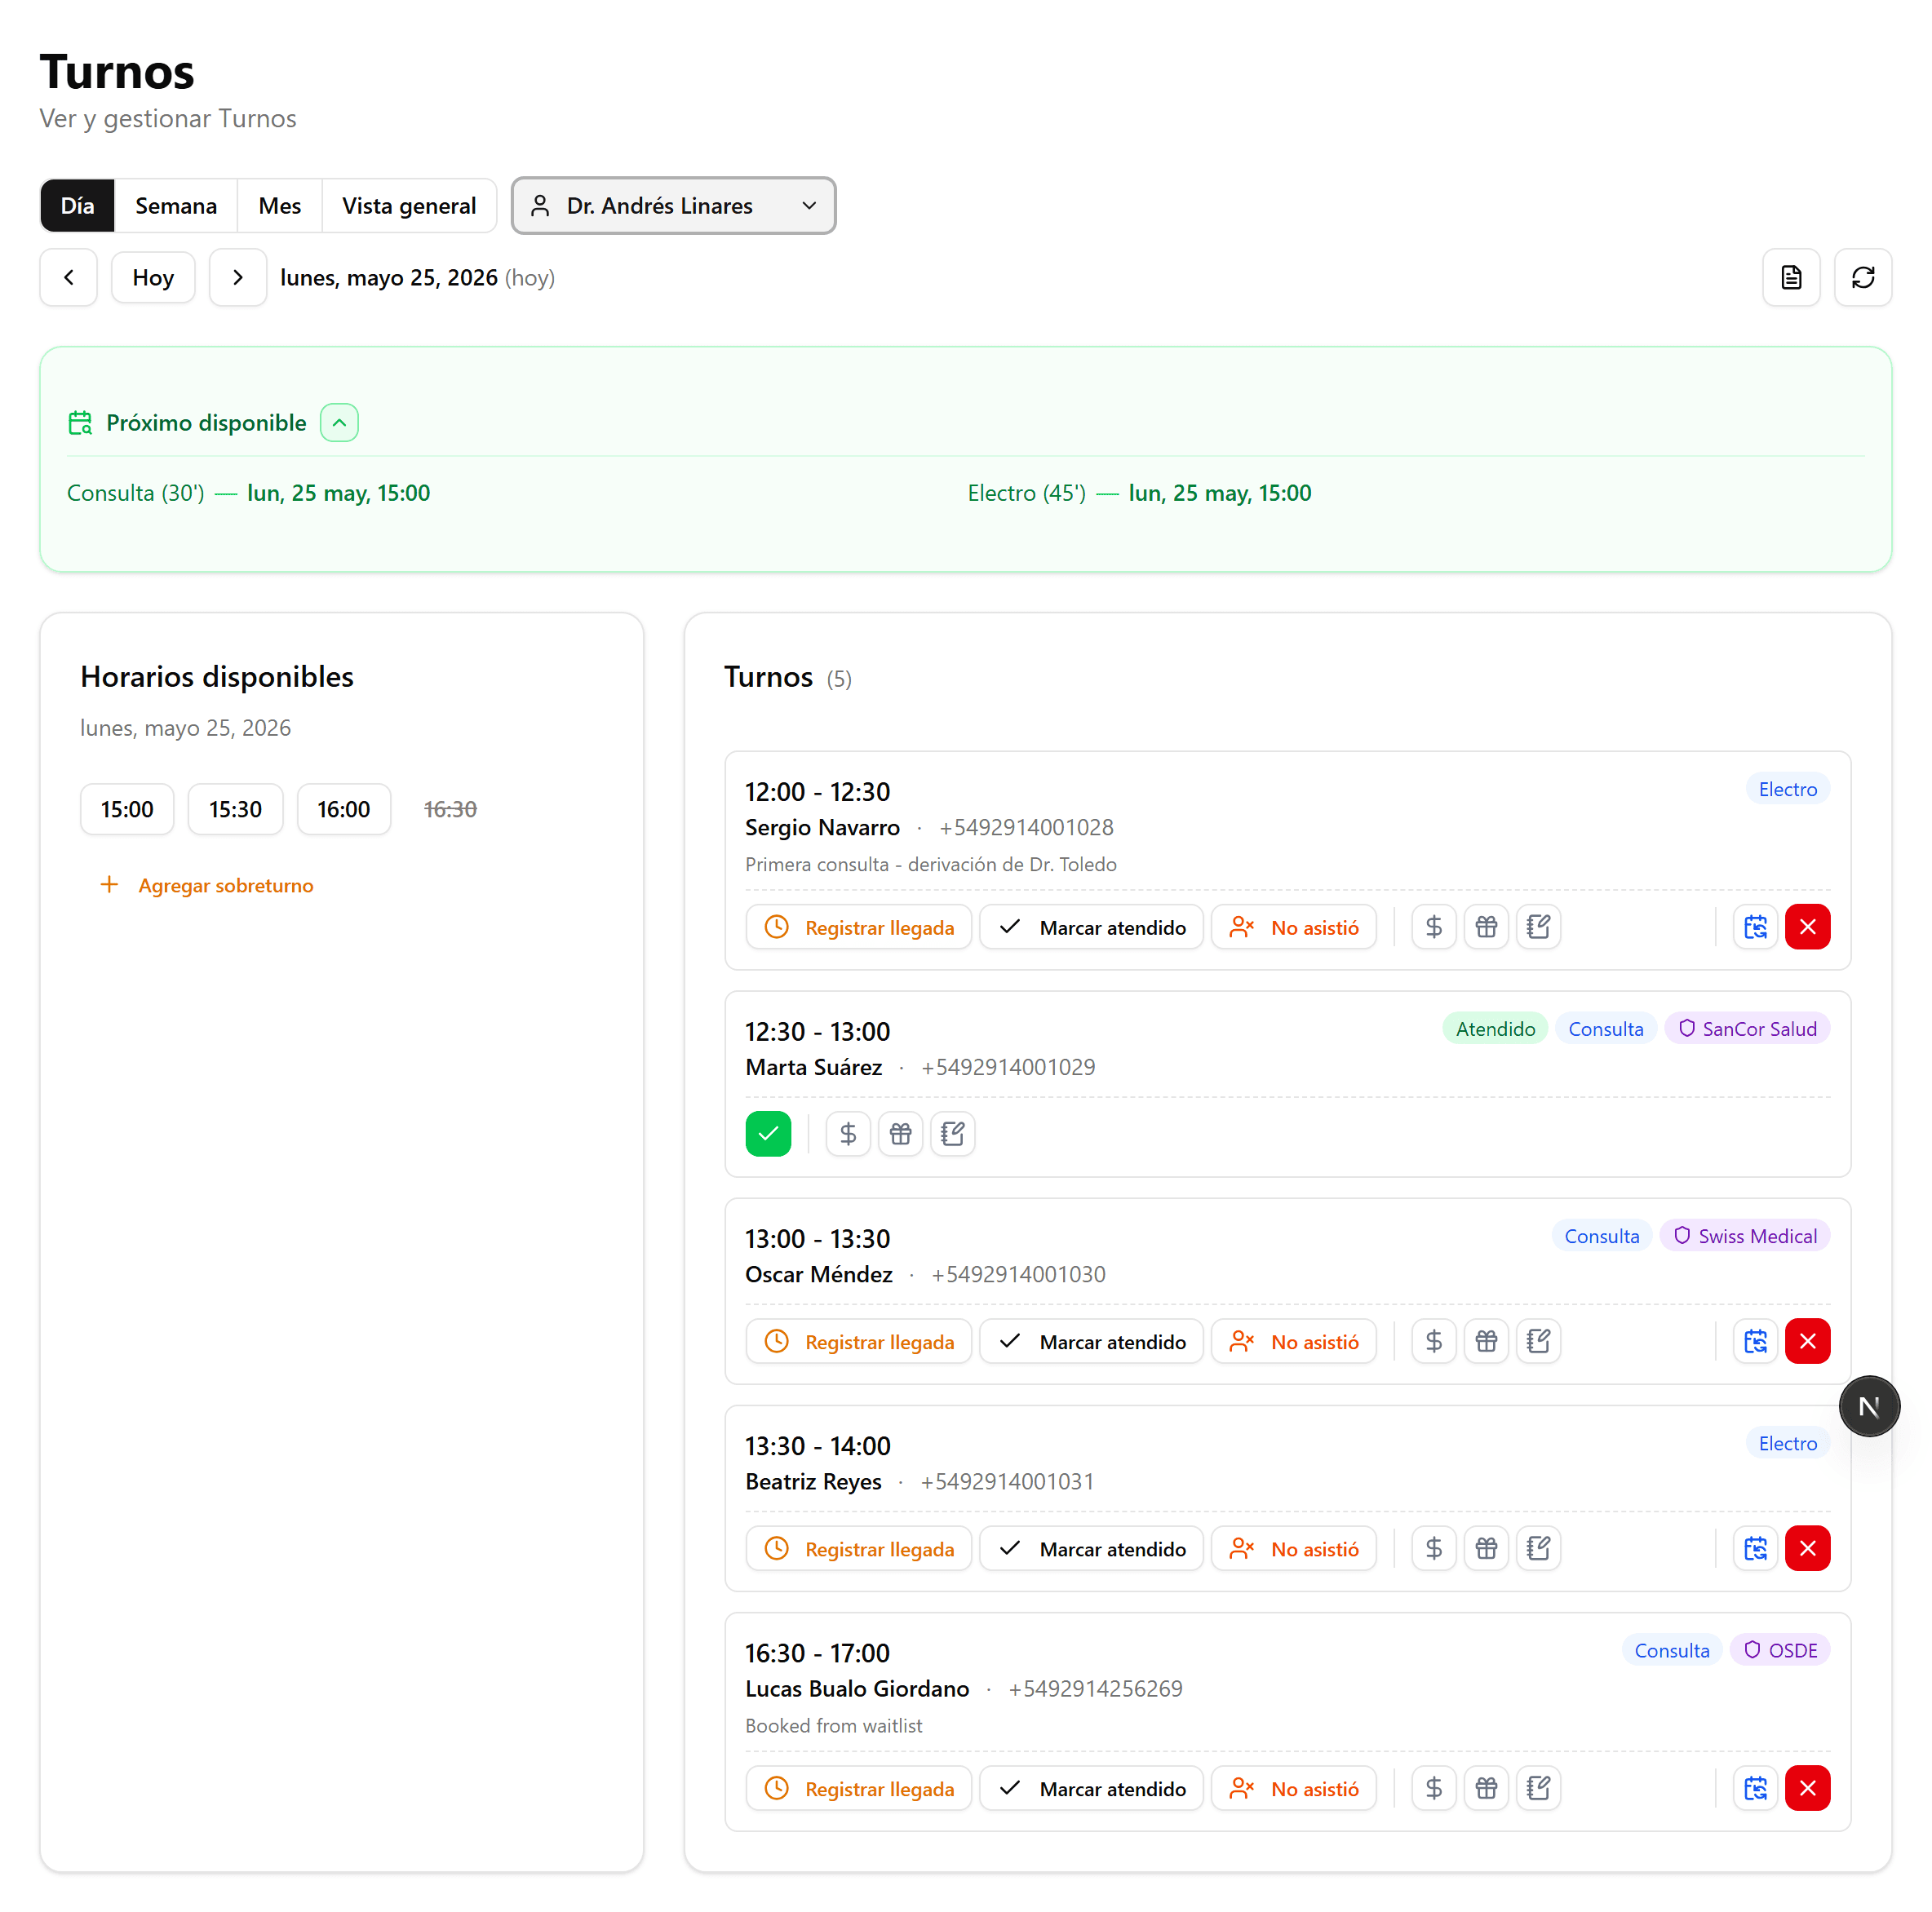
Buscá el día deseado
En la agenda de Turnos, elegí el profesional y navegá hasta el día donde querés agregar el sobreturno.
- 2
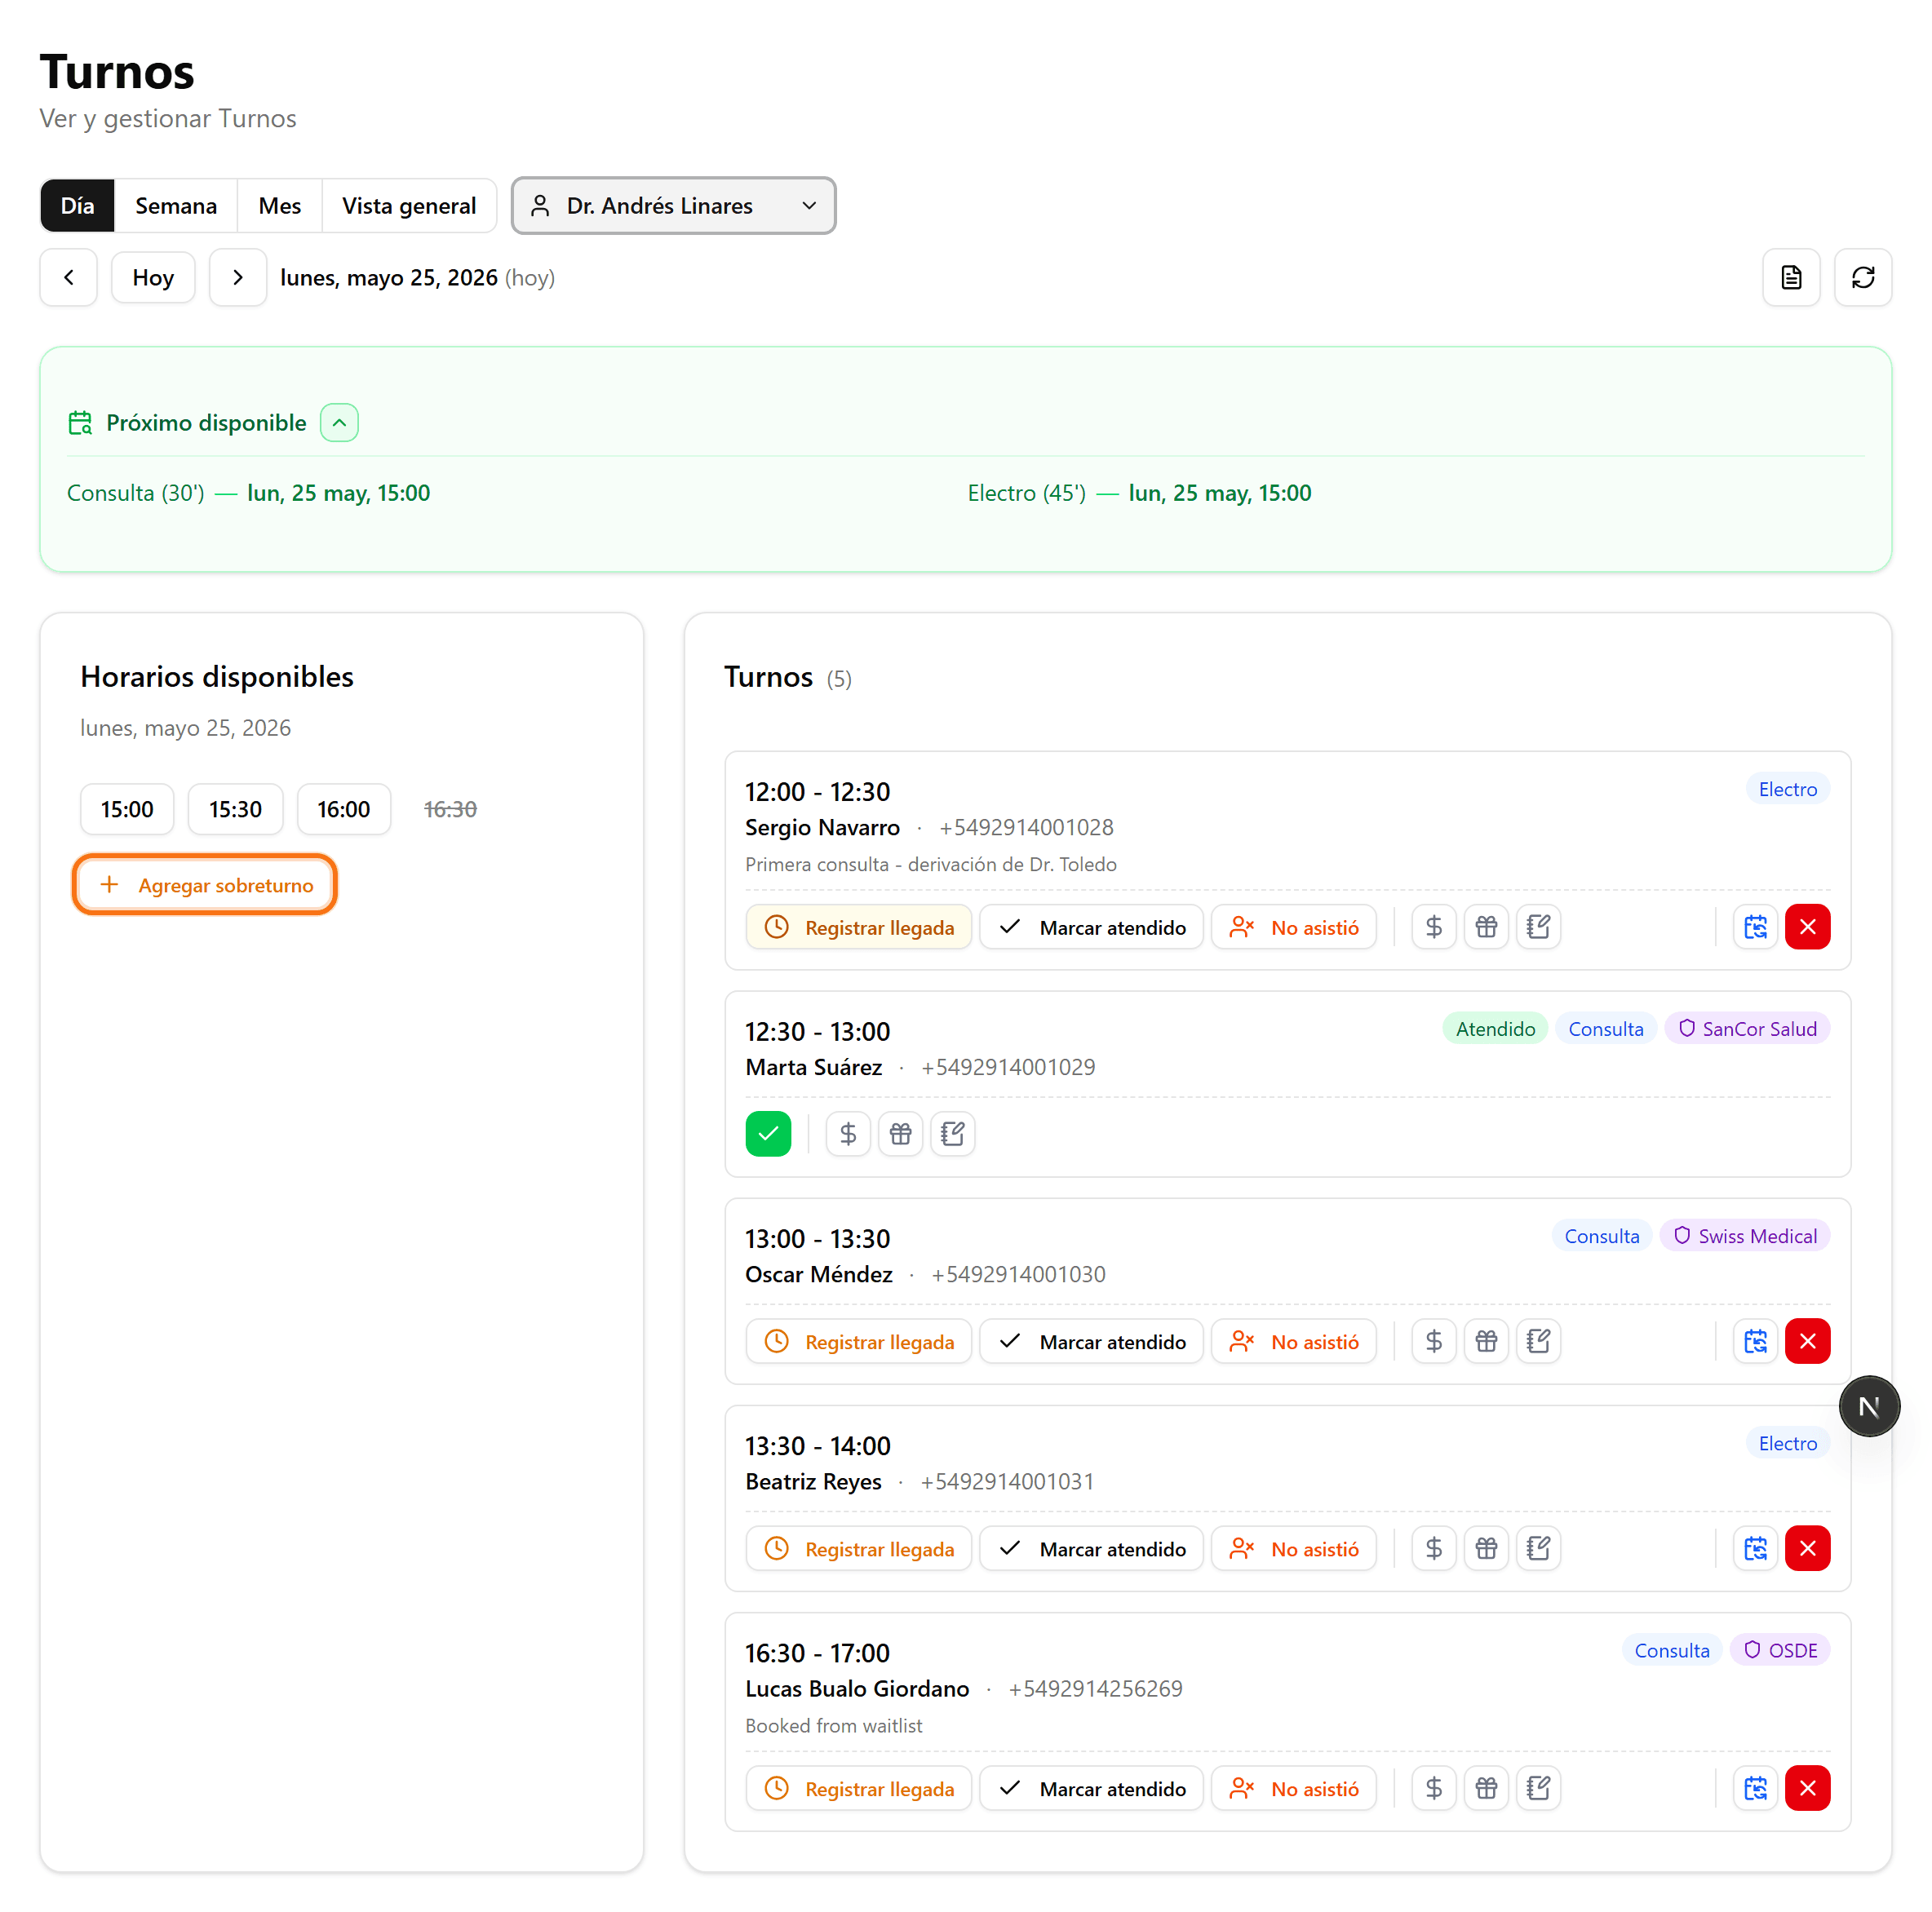
Click en «Agregar sobreturno»
Debajo de «Horarios disponibles», hacé clic en «Agregar sobreturno».
- 3
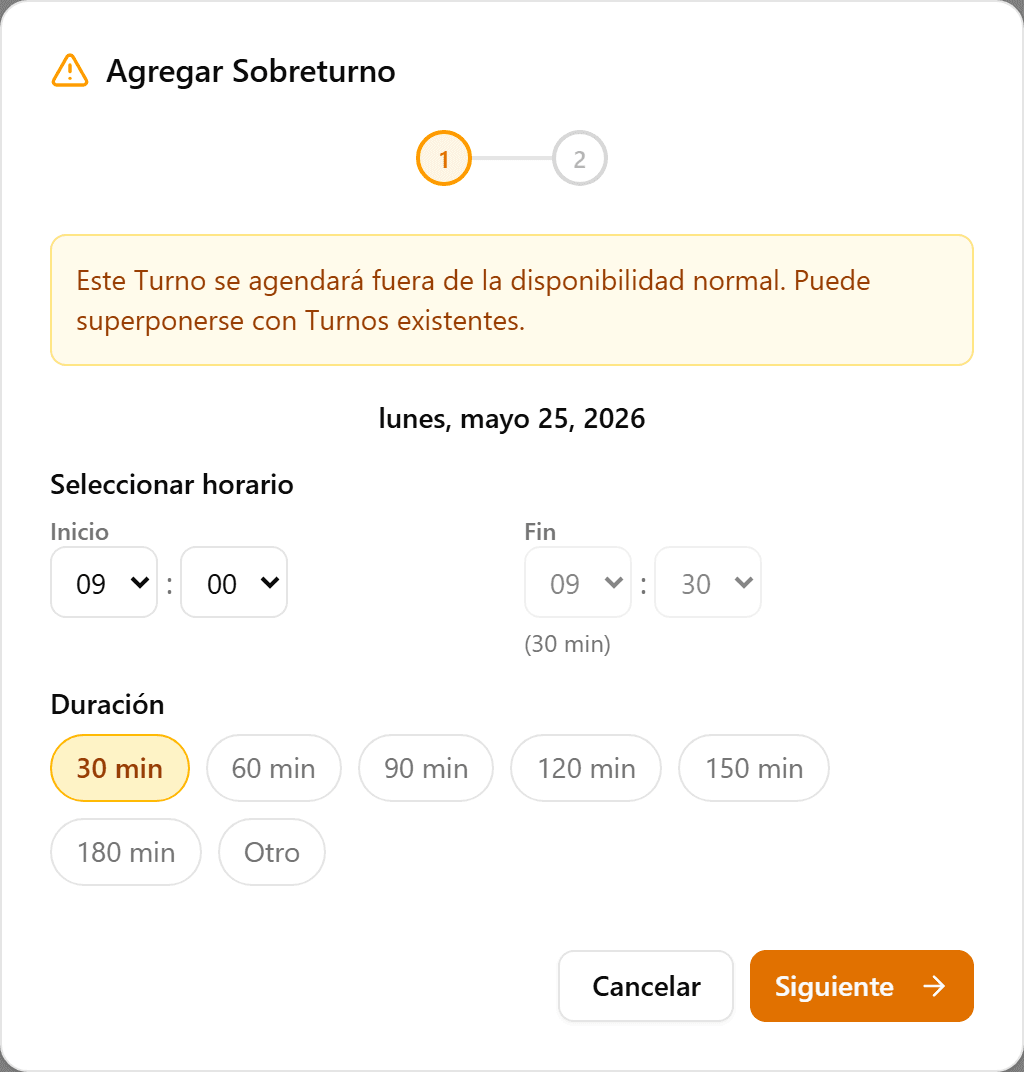
Elegí la hora de inicio
Se abre el asistente. Un aviso te recuerda que el turno se agenda fuera de la disponibilidad normal y puede superponerse. Elegí la hora de inicio y la duración; el fin se calcula solo.
- 4
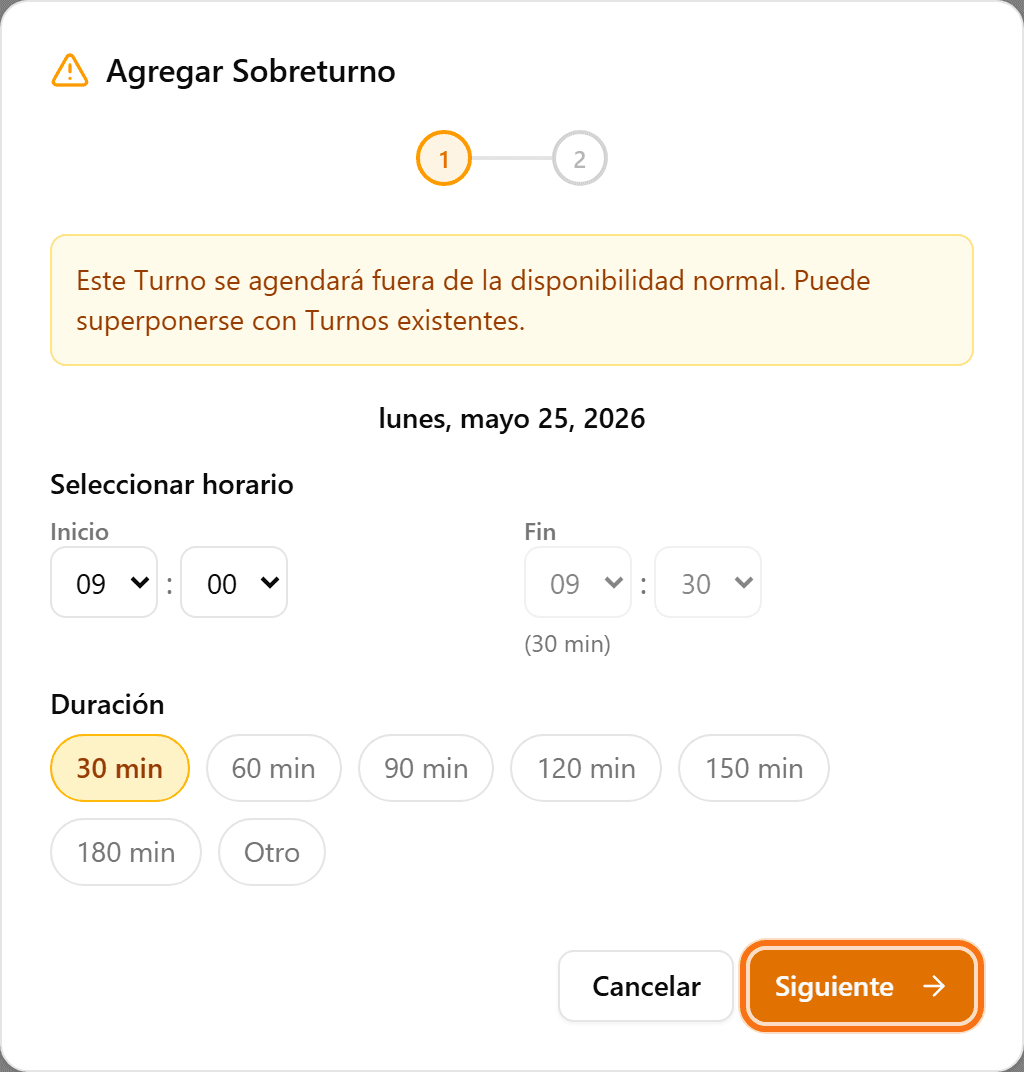
Click en «Siguiente»
Confirmá el horario para pasar al segundo paso.
- 5
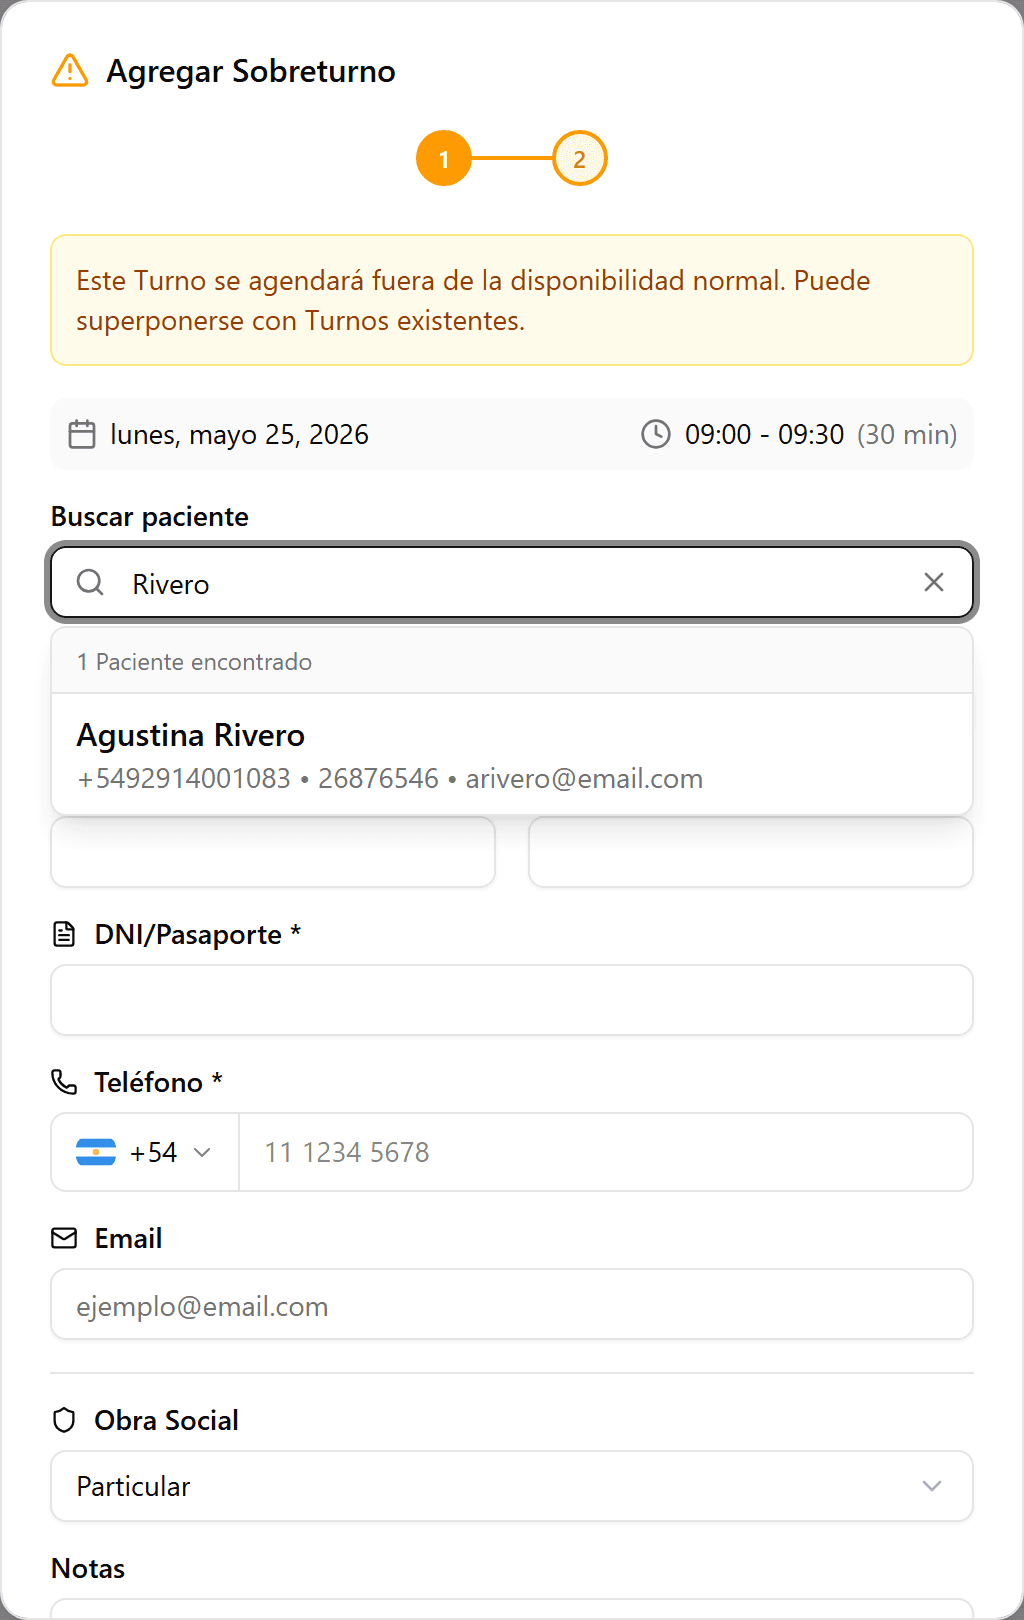
Buscá un paciente o creá uno nuevo
Buscá por nombre, teléfono o DNI. Si el paciente no existe, completá los datos para crearlo en el momento.
- 6
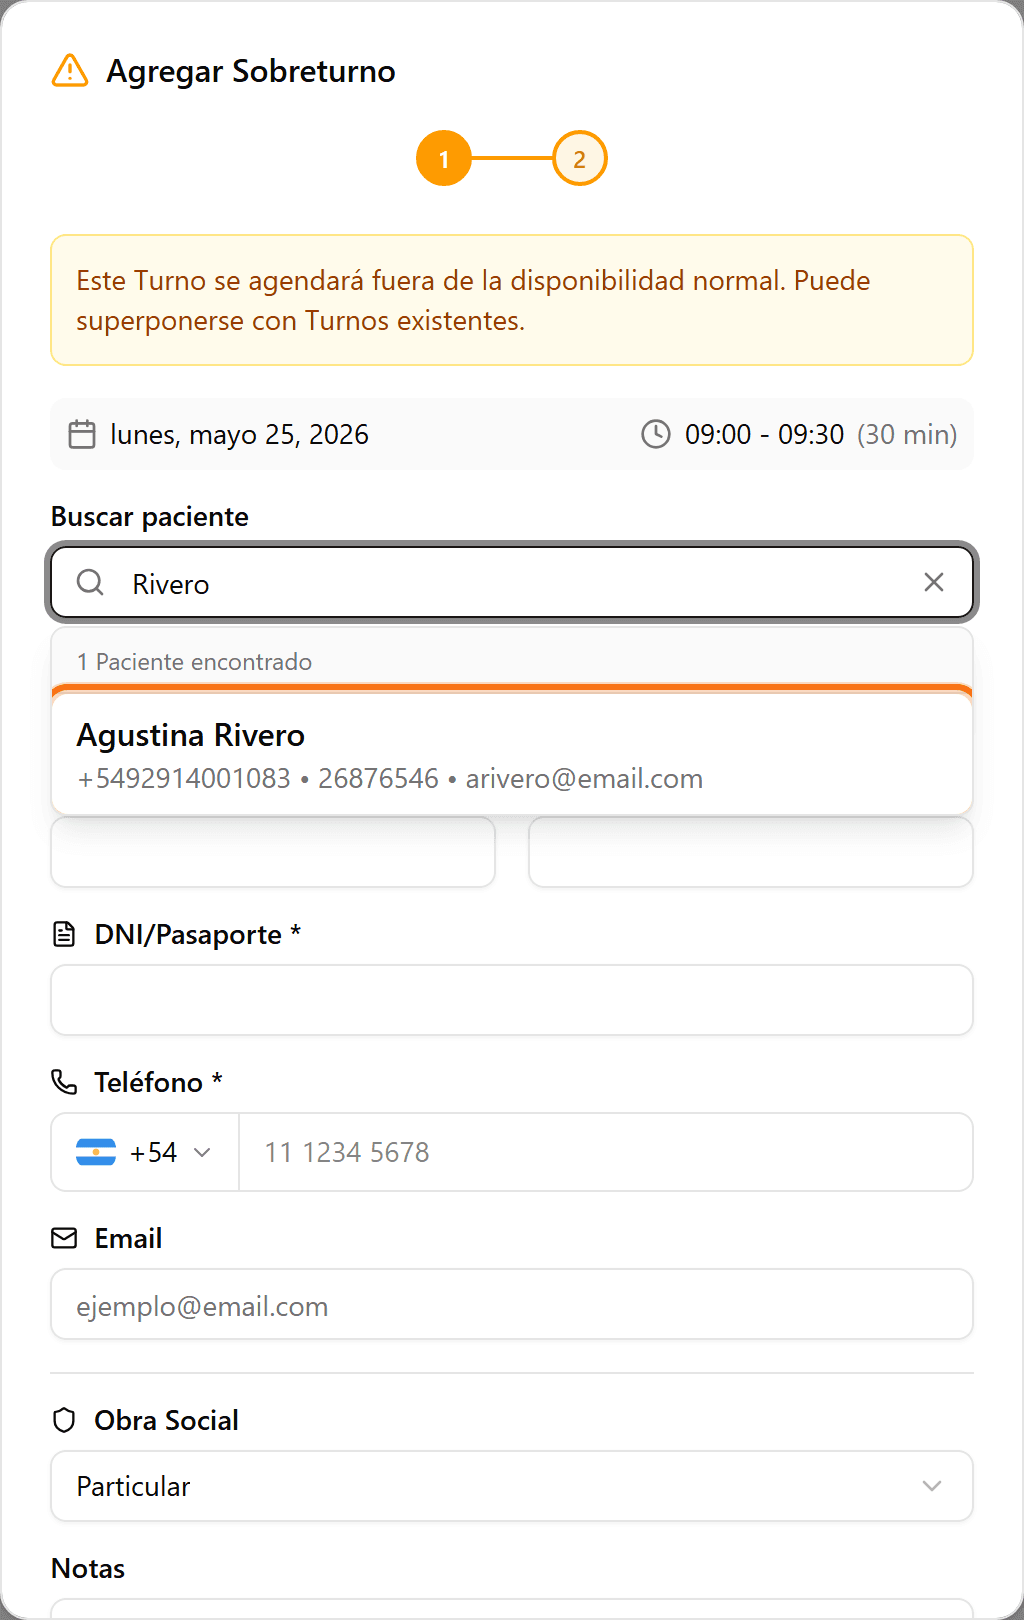
Seleccioná el paciente
Hacé clic en el paciente de la lista de resultados.
- 7
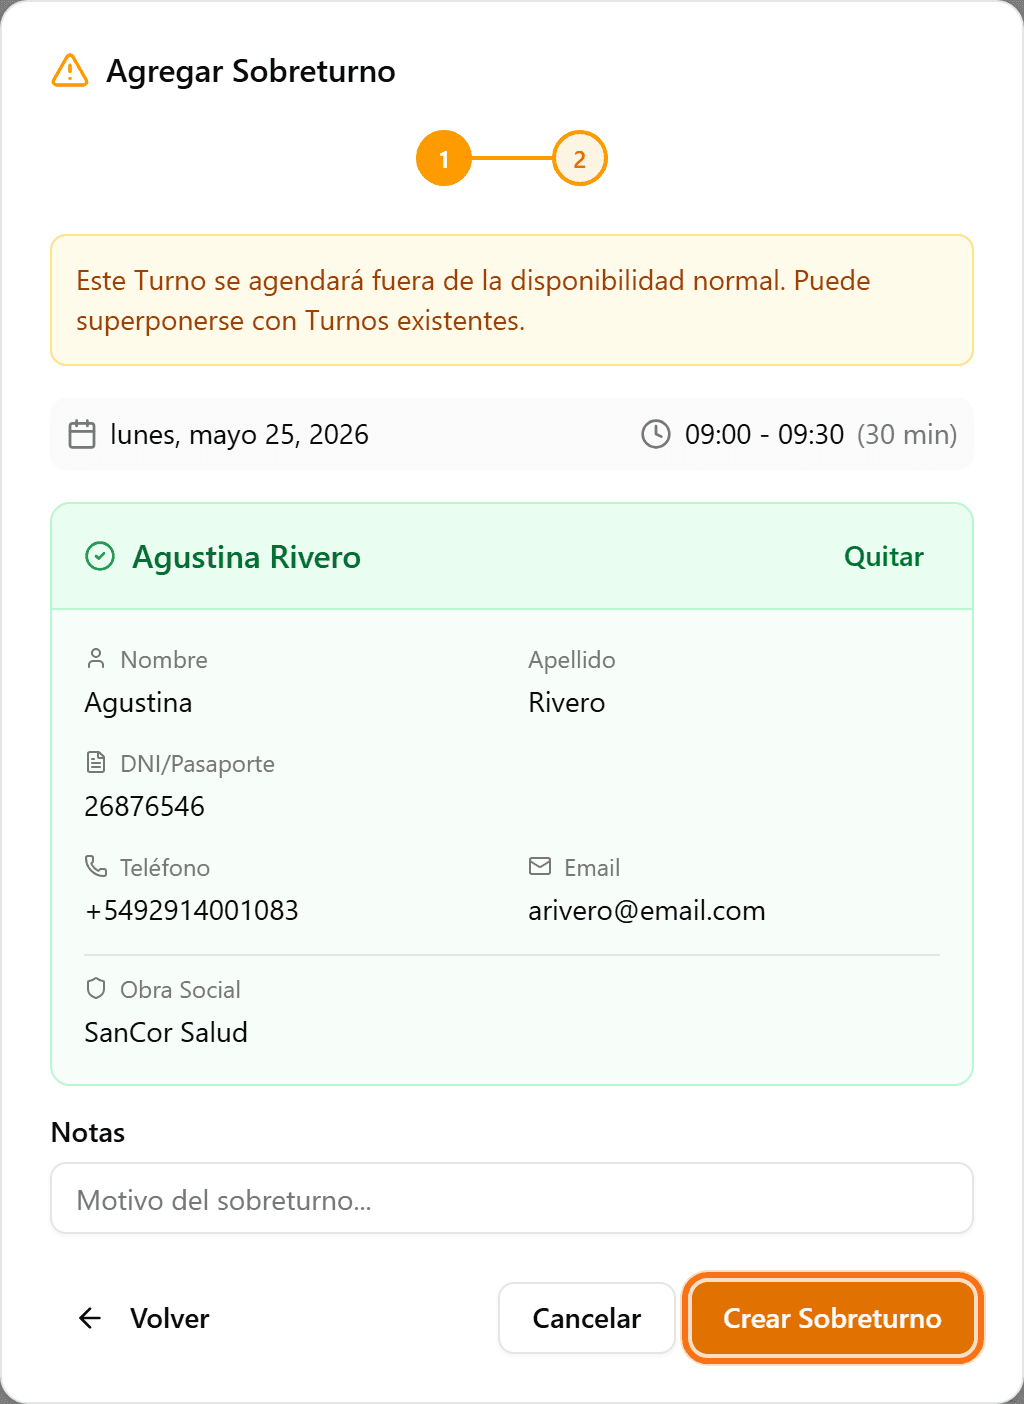
Click en «Crear Sobreturno»
Revisá los datos y confirmá con «Crear Sobreturno».
- 8
Listo
El sobreturno aparece en la agenda con la etiqueta «Sobreturno».
